
How To Achieve The Perfect Bantu Knot-Out For 4C Natural Hair

Nothing New Under The Sun/Earlier Years/Chiney Bumps
It’s funny how they say nothing under the sun is new, since about 2009-2010 when the natural hair movement started, I noticed that a lot of the styles I wore and disliked as a child had now been considered chic, to my surprise the Bantu Knot-Out was one of them.
I loved this look when I was a teen but dreaded the process. I used to do very small Bantu Knots which would take me all day to complete.
Fast forward to adult life, I really didn’t want to spend hours doing Bantu knots in my hair so I tweaked the process, it may have taken me 25 years but we are here now and that all that matters.
Start With Cleansing And Deep Conditioning Your Hair
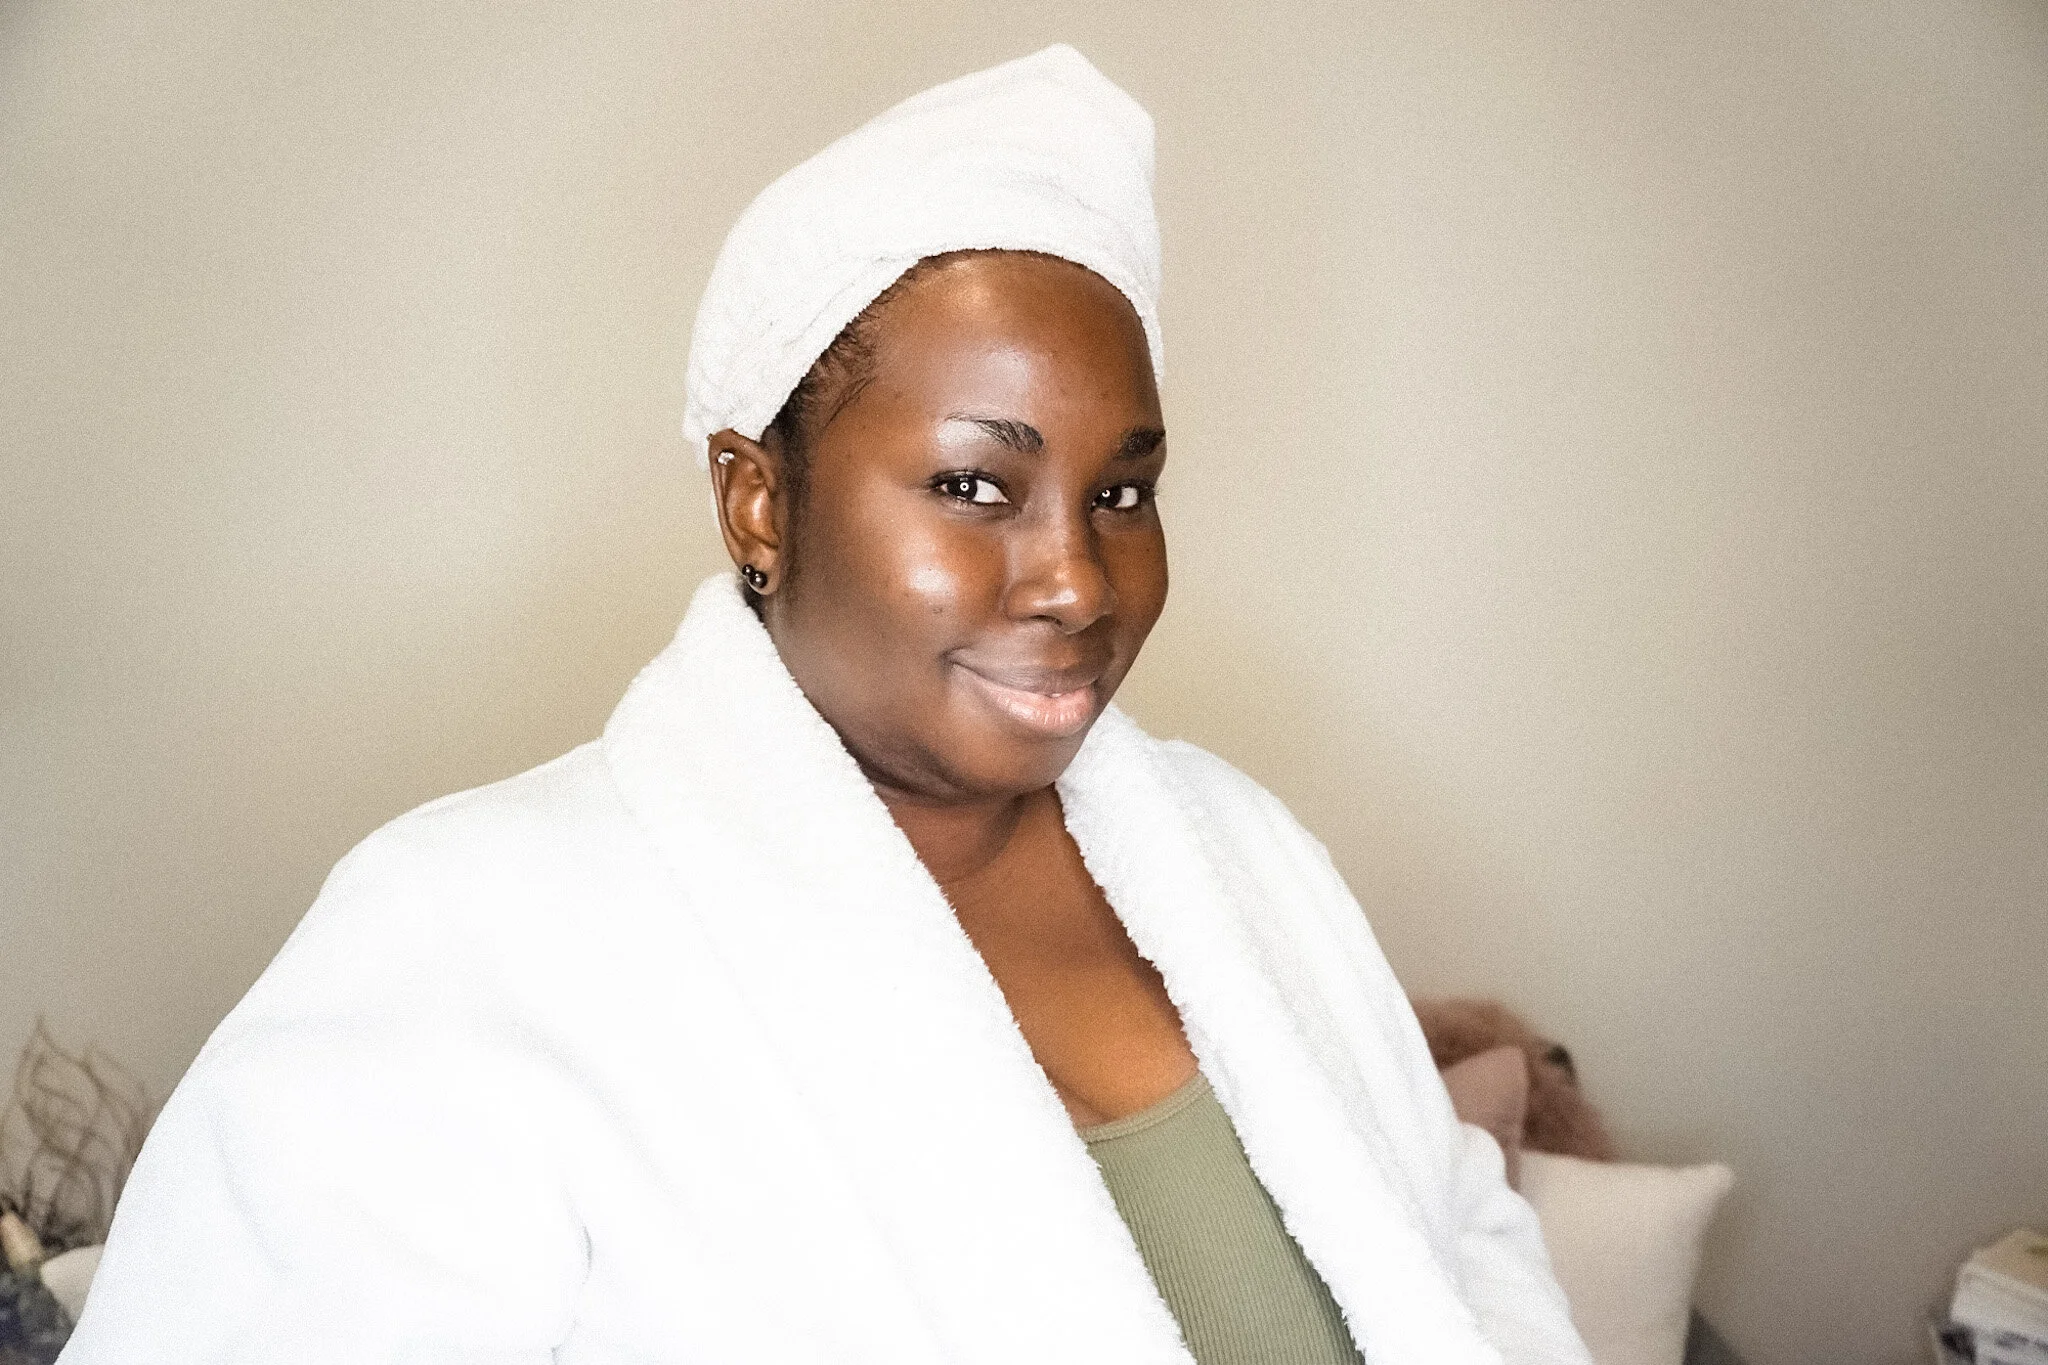
Personally, I like to start new natural hairstyles on freshly washed hair. I have found that my natural hair responds better to styling when it is clean. My natural hair performs better, the natural hair care products I use penetrate the hair much better and the results are the bomb….
Not only will you have a beautiful Bantu Knot-Out for your natural hair you will also find that your scalp loves to feel clean. Your natural hair loves a clean and healthy environment which promotes healthy hair growth.
My Natural Hair Care Motto: Healthy Scalp = Healthy Hair
Stretching Your Hair (optional)
Stretching your natural hair before doing your Bantu Knots is optional. This allows you to have big voluminous curls that will not be as tight and defined. This is a beautiful look however it doesn’t last very long. You may be able to get a few days (up to 3 days maybe) with this procedure.

You can simply air-dry your hair with a bit of Take Me Away Essentials Twist Curl Or Sleek moisturizing hair butter and Take Me Away Essentials Hair and Scalp Nourishing Hair Oil or you can blow dry your hair on low heat after using a heat protector for your hair. I really don’t like to promote direct heat to your natural hair because that can be very damaging to your hair, so use the heat on low.
Step #1
Section your hair into 5 sections, 2 at the back and 3 at the front. Start from the back, where you will have better control moving forward (at least this works best for me).
Step #2
You will be dividing the large section into smaller sections. When you have reached your desired size for each Bantu Knot, we will start at the nape at your preferred side
Step #3
You will now add a bit of Take Me Away Essentials Twist Curl Or Sleek Hair Butter to this small section then do a two-strand twist all the way to your hair ends.
Step #4
You are now going to twirl that strand twist to wrap your natural hair around itself (take your time with how tight you do your Bantu Knots, you do not want to create tension on your scalp). You will wrap the hair around itself all the way to the ends.
For the perfect demonstration Watch Video Here (How To Achieve The Perfect Bantu Knot-Out For 4C Natural Hair)
Bantu Knots On Damp Hair

Bantu Knots on wet or damp natural hair will give you tight, well-defined ringlets/curls.
As you may be able to tell, this is my favourite technique.
After you have shampooed and deep conditioned your hair, while it is still damp follow the steps below:
Step #1
After misting/spritzing your hair with Take Me Away Essentials Hair Hydration Mist, section your hair into 5 sections, 2 at the back and 3 at the front. Start from the back, where you will have better control moving forward (at least this works best for me).
Step #2
You will be dividing the large section into smaller sections. When you have reached your desired size for each Bantu Knot, we will start at the nape at your preferred side
Step #3
You will now mist that section of hair with Take Me Away Essentials Hair Hydration Mist, then add a bit of Take Me Away Essentials Twist Curl Or Sleek Hair Butter and Take Me Away Essentials Hair and Scalp Nourishing Hair Oil to this small section then do a two-strand twist all the way to your hair ends.
Step #4
You are now going to twirl that two strand twist to wrap your natural hair around itself (take your time with how tight you do your Bantu Knots, you do not want to create tension on your scalp). You will wrap the hair around itself all the way to the ends.
For the perfect demonstration Watch Video Here (How To Achieve The Perfect Bantu Knot-Out For 4C Natural Hair)
The Unravelling Process
When unravelling your natural hair, you want to try as best as possible NOT to disturb your curls. You don’t want them to frizz so the best way to do this is to add a bit of Take Me Away Essentials Hair and Scalp Nourishing Hair Oil to your fingers prior to unravelling, this way you are sleeking the curls as you unravel without disturbing your curls.
Pick From the Roots
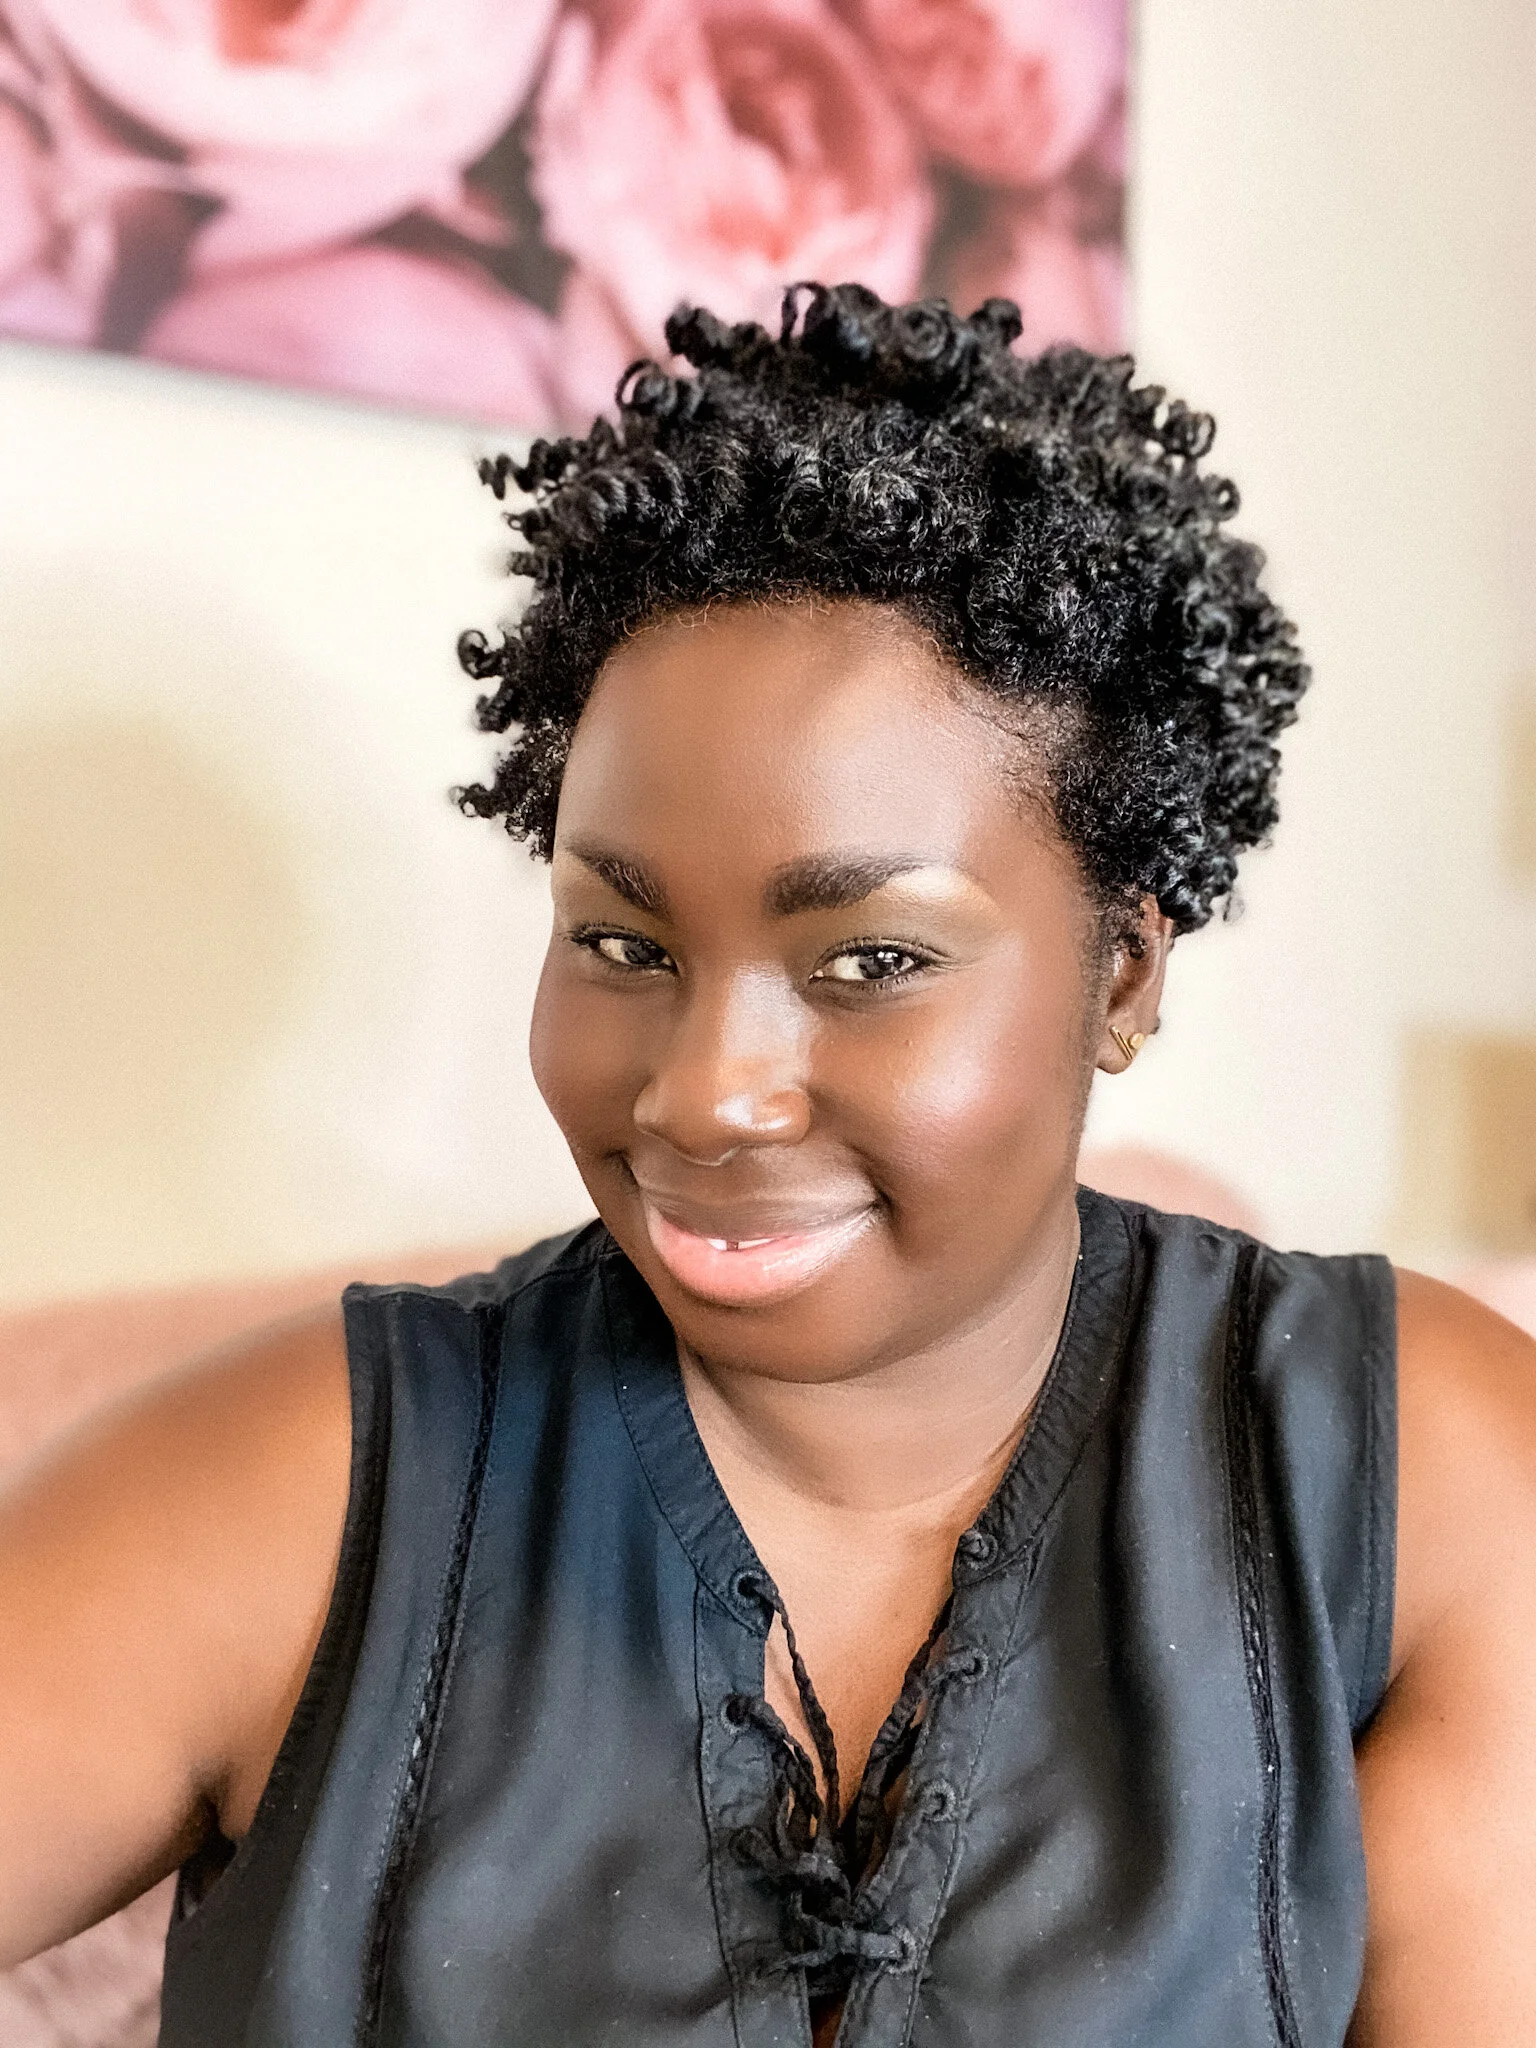
The aim of the game is to maintain these curls darling we did NOT come this far to mass up at picking and fluffing our natural hair. Using a pick comb, slightly pick from the roots to fill out any partings you may have. This gives your hair volume while leaving your natural hair in beautifully defined ringlets from your Bantu Knot-Out
To Sleek Your Edges or Not To Sleek Your Edges
Sleeking your edges is a personal choice, there is no wrong or right where this is concerned. I do my edges sometimes and other times I don’t, The choice is 100% yours!
Always Take a Selfie
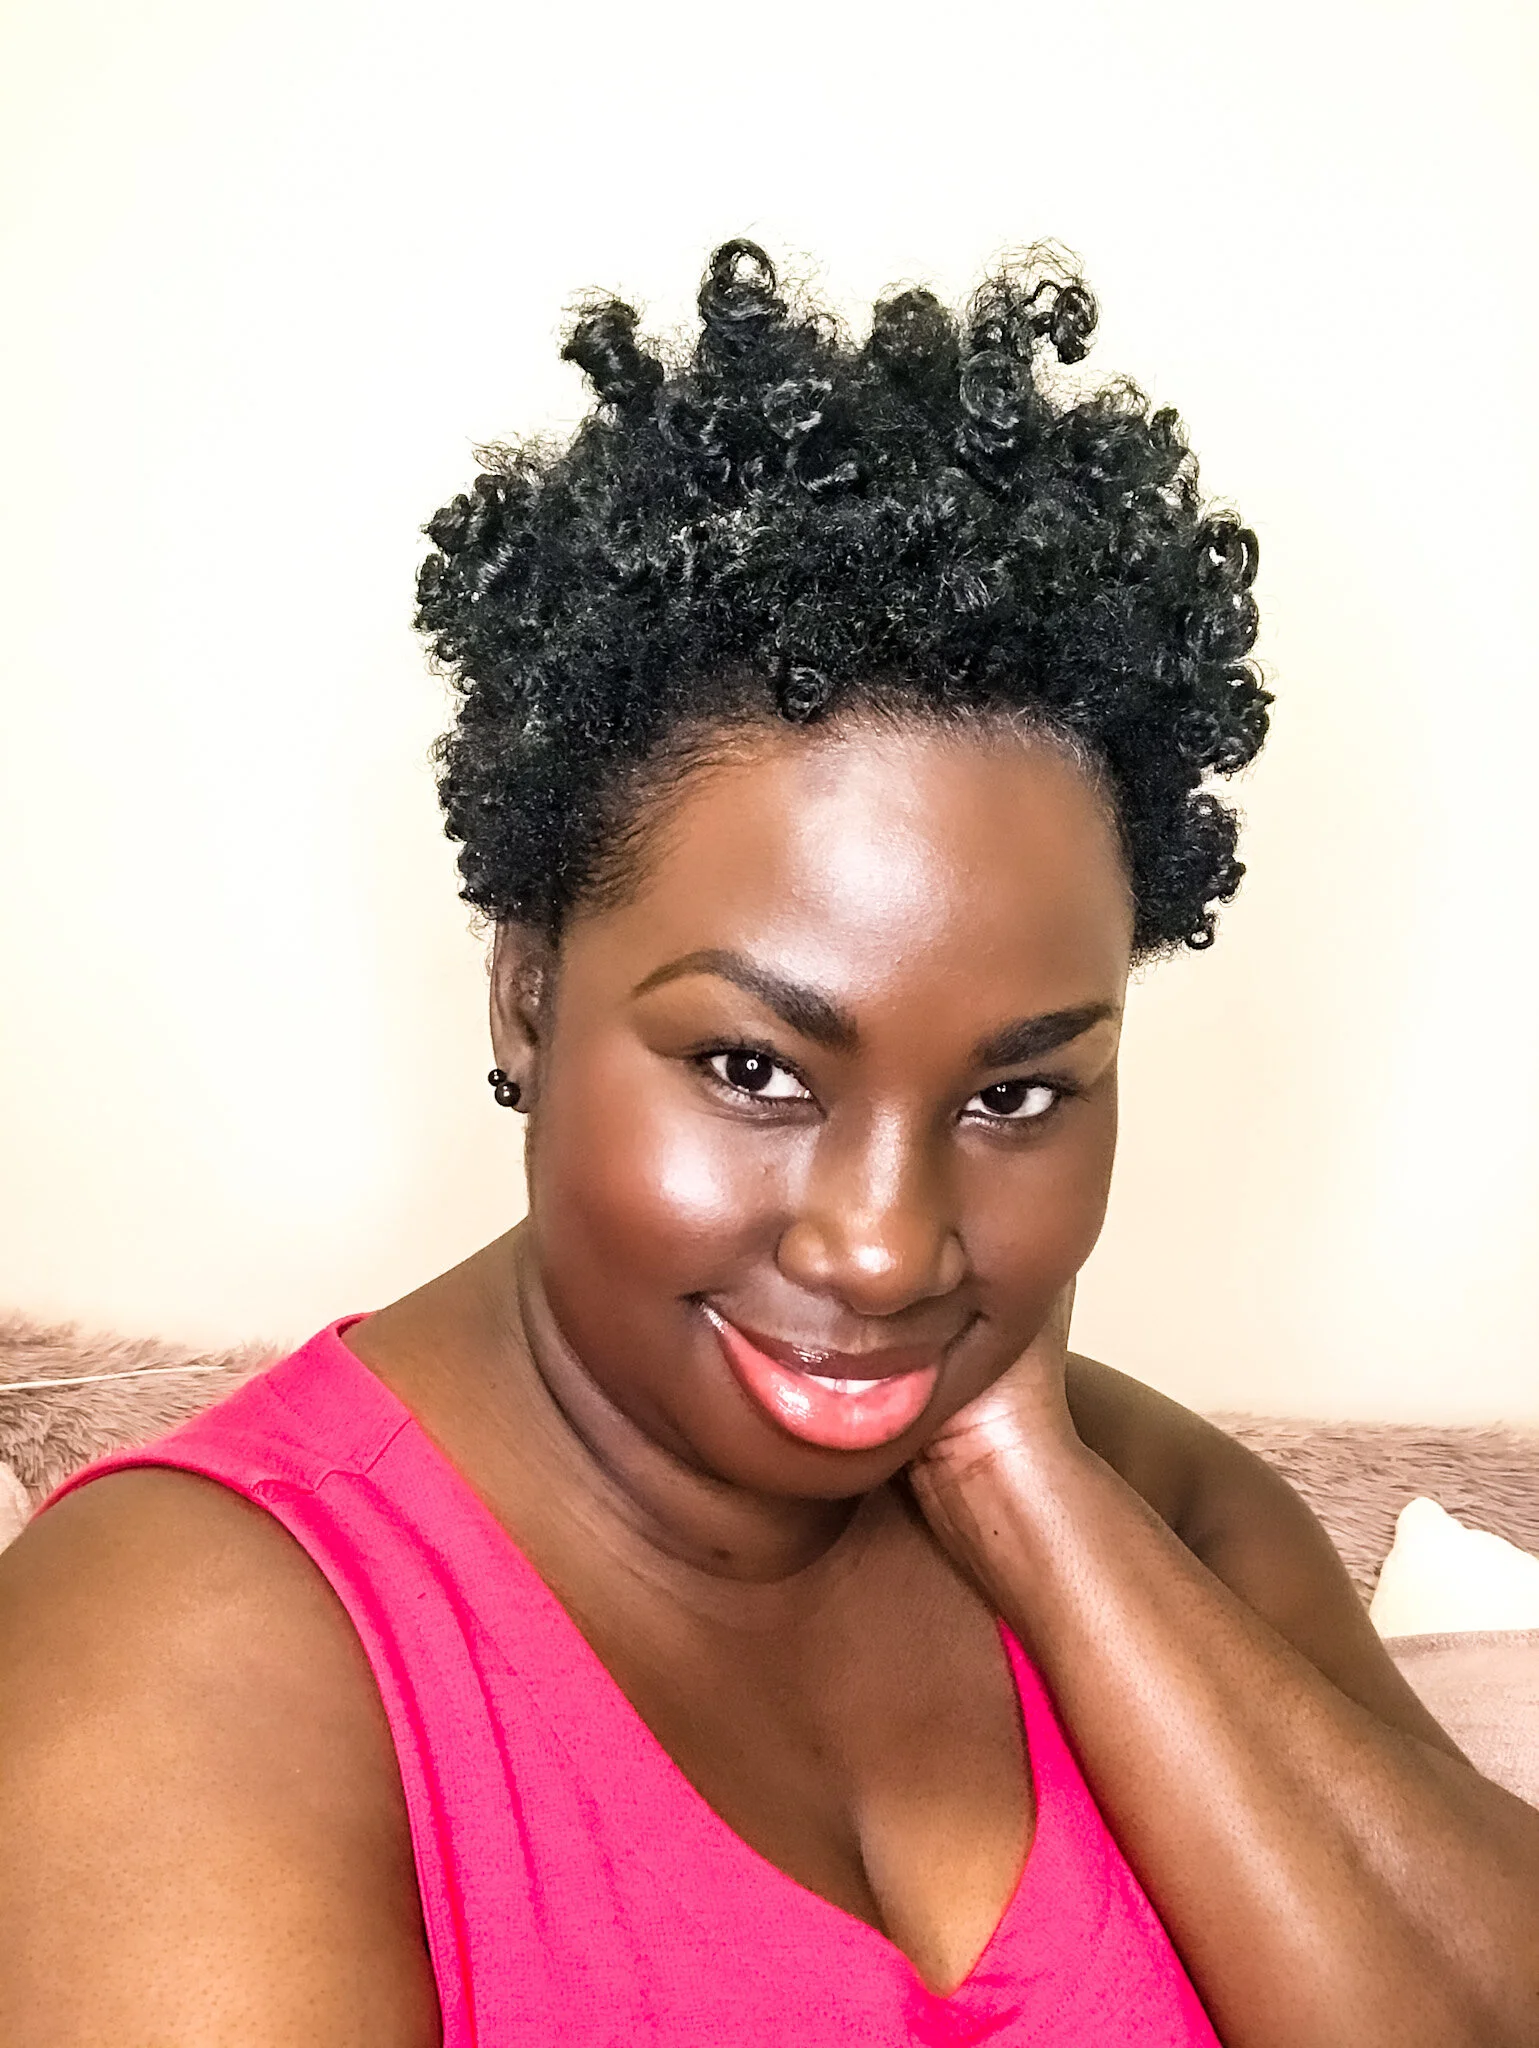
DARLING!!!!
If you don’t take a selfie to justify this process and this beautifully achieved Bantu Knot-Out to celebrate this WIN, I am personally coming to get you….
Jokes!
But on a serious note, you just completed a beautiful Natural Hair Style on your natural hair, appreciate yourself enough to take a selfie and don’t be afraid to post it. Post it to your phone screen, your lock screen, your Instagram feed or stories, your Facebook or just look at your beautiful handy work and smile.
Let me know in the comments which technique you prefer, Bantu Knots on stretched hair or Bantu Knot on wet hair, or will this be your encouragement to try it for the first time?
Leave a comment below.
-LRTJ